Setting Up Your Environment Using Remix#
The Remix IDE is a powerful, open-source tool that helps you write Solidity smart contracts straight from the browser, without requiring any download, account creation, or login.
This article shows you how to deploy a Hello World contract to the Flare blockchain using the Remix IDE and the MetaMask wallet.
Guide#
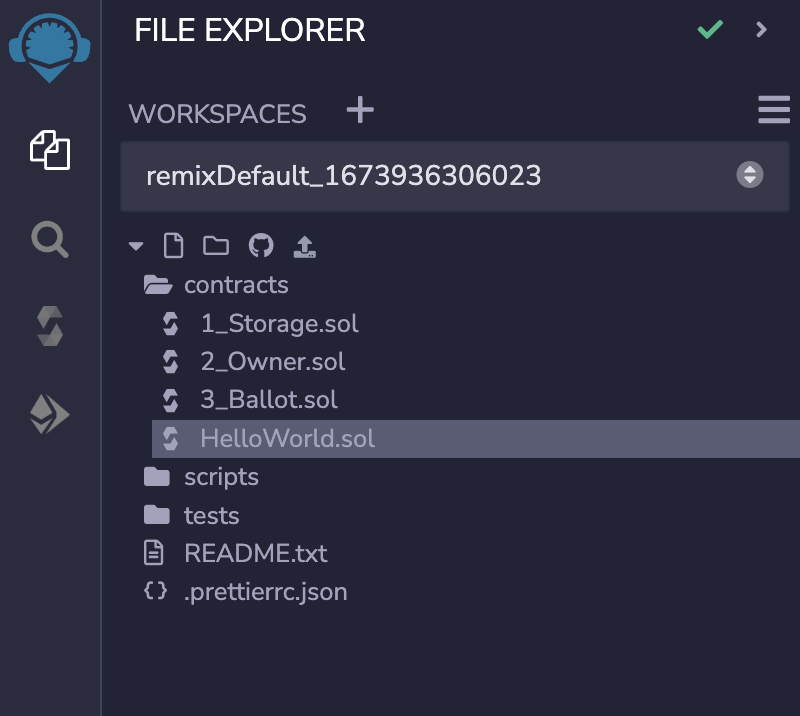
1. Create a New File#
- Visit the Remix IDE and click the New File button.
- Name it
HelloWorld.sol. - Drag and drop it to the contracts folder.
2. Write Your Contract#
Copy and paste the smart contract code provided below into the newly created HelloWorld.sol file.
// SPDX-License-Identifier: MIT

// Specifies the version of Solidity, using semantic versioning.
pragma solidity 0.8.17;

// Defines a contract named `HelloWorld`
contract HelloWorld {

   // Declares a state variable `message` of type `string`.
   string public message;

   // Constructors are used to initialize the contract's data.
   constructor(string memory initMessage) {
      // Accepts a string argument `initMessage`.
      message = initMessage;
   }

   // A public function that accepts a string argument.
   function update(string memory newMessage) public {
      message = newMessage;
   }
}
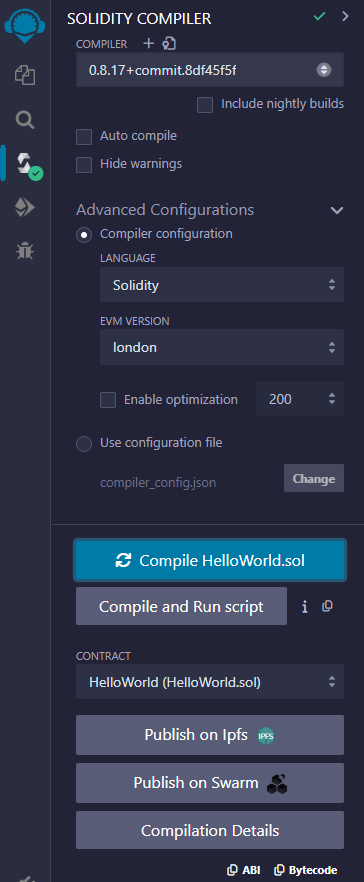
3. Compile Your Contract#
- Go to the Solidity Compiler tab (on the left), and select compiler version
0.8.17. - Click on Advanced Configurations, and select
londonfrom the EVM VERSION drop down. - Now, click the Compile HelloWorld.sol button.
After successful compilation, it will show a Green tick mark on the Compiler tab button.
4. Deploying on Flare Testnet#
You will now deploy the smart contract on the Coston2 network, Flare's test network.
When a smart contract is deployed on Flare's main network, it not only costs money (such as gas fees), but it also becomes immutable and cannot be modified. Therefore, deploying your smart contracts first on the test network is highly recommended.
Warning
Before proceeding with Deployment:
- Make sure that you have added and selected the Coston2 test network to your Wallet. The Wallets section shows how to do it. Use the values for Coston2 that you will find in the Network Configurations page.
- Ensure that you have enough Coston2 native tokens
$C2FLRto pay for gas. Visit the Coston2 Faucet to request some$C2FLR.
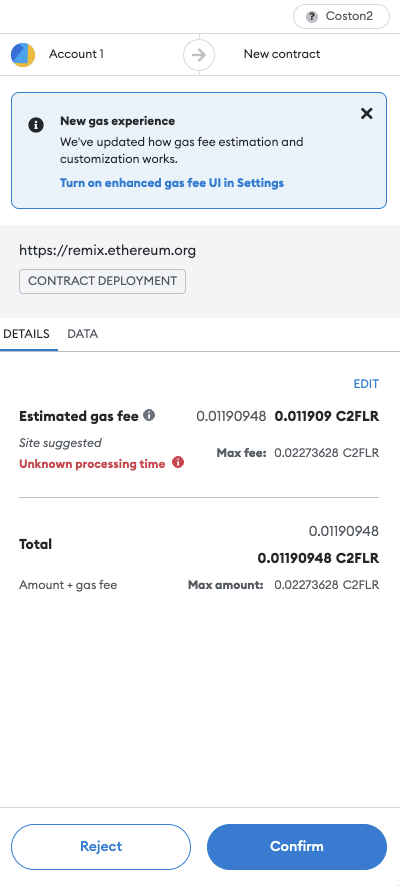
- Go to the Deploy & Run Transactions tab (the last one) and select Injected Provider - Metamask from the ENVIRONMENT dropdown. Accept the connection request received in MetaMask if necessary.
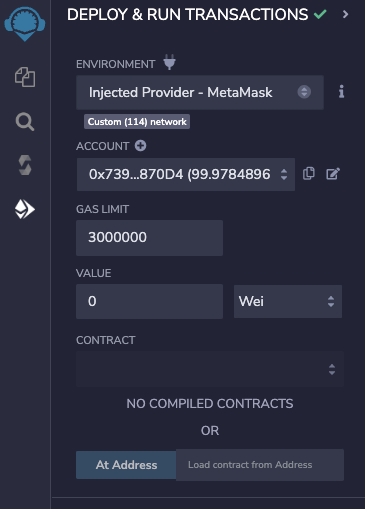
- Click the Deploy button and confirm the CONTRACT DEPLOYMENT transaction in MetaMask.
Note
The process to deploy your contract on the Flare main network is the same as above.
You only have to select Flare Network on MetaMask and use $FLR tokens.
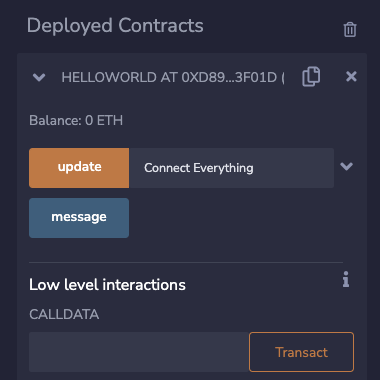
5. Interact with the Contract#
You can now interact with the contract to verify that it is working as intended.
- In the Deployed Contracts section at the bottom of the left column, expand the
HELLOWORLDcontract to see its methods and data:updatemethod.messagepublic variable.
- Type a message in the box next to the update button and click the button.
- Confirm the deployment transaction in MetaMask.
- Check that the contract has been updated by clicking the message button and verifying you get back the message you typed before.