Automatic Claiming#
To save time, maximize compound interest, and avoid unnecessary exposure of a cold wallet, you can set an executor to claim rewards for you. Executors then use automatic claiming to send rewards directly to your account.
Introduction#
To set an executor you only need to enter its address in the Flare Portal.
However, the Flare Portal does not help you find executor addresses, so you must find them in different ways, depending on whether they are manual or registered:
- Manual executors are ones that you locate yourself. Whether they charge a fee or not and how you pay it is between you and the executor.
- Registered executors are listed in a smart contract and can be retrieved, for instance, using the block explorer or third-party applications. These executors charge a fee when you set them up and every time they claim for you.
Overview of autoclaiming functionality
For an overview of what is available for the entire autoclaiming feature, see Automatic Claiming in the Flare Fundamentals section.
Prerequisite#
To enable an executor, obtain its address off-chain or, for registered executors, on-chain.
Note that the list of registered executors has not been added yet to the Flare Portal.
Enabling Automatic Claiming#
Now that you have your desired executor's address, you can set it as the executor for your account.
- Open the Flare Portal.
- Click Connect to Wallet and log into your wallet.
The interface to your Main Account opens.
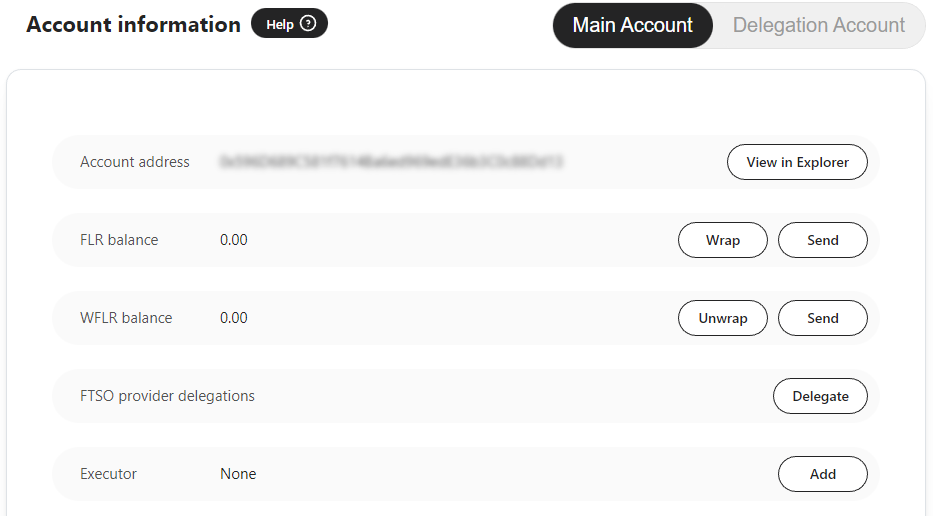
Flare Portal Main Account interface. - In the Executor section, click Add or Change.
- Paste the executor's address.
A message confirms the executor's fee, whether it is a registered executor, and whether rewards go to your Main Account or your Personal Delegation Account (PDA).
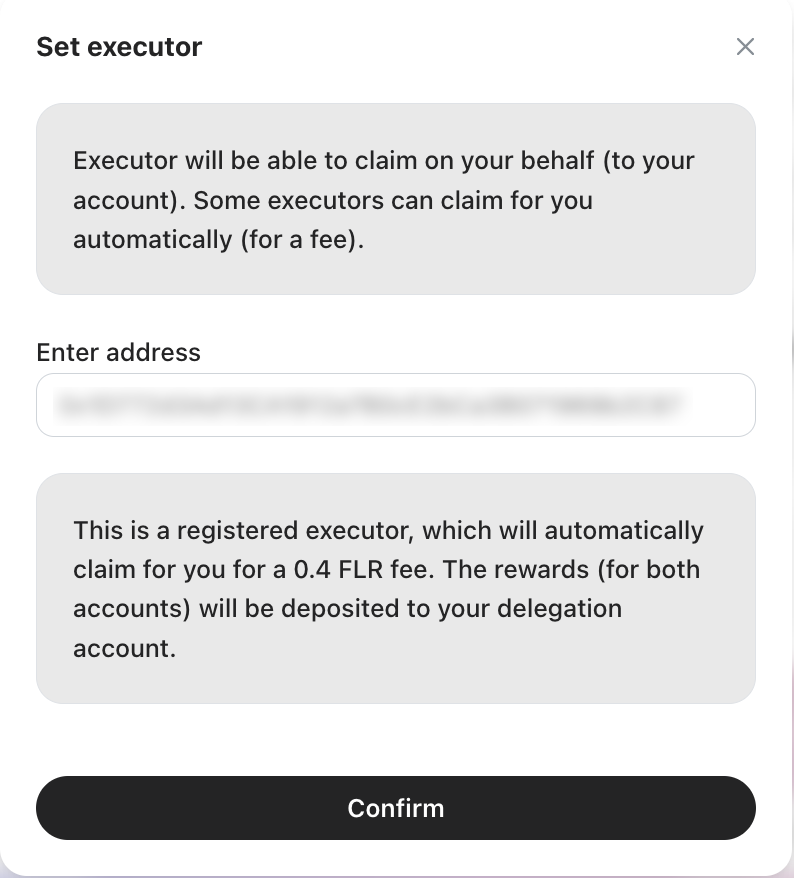
Set an executor. - To set this executor, click Confirm. Your wallet opens with the details of the transaction.
- Review the transaction and confirm it.
If you confirm the executor, the Flare Portal displays the executor address you have selected, whether it is registered, and its fee. Note also that the Add button now reads Change, enabling you to remove or change the executor any time you choose.

Reward must be high enough to pay the executor's fee
If the reward amount is too low to accommodate the fee, automatic claims won't occur, so you may see small amounts of unclaimed rewards even if you have autoclaiming set up.
Disabling Automatic Claiming#
To disable automatic claiming and stop paying the executor fees, go through the above process again and clear the Executor address field in Step 4. This is, confirm an empty address.
Once you confirm the transaction in your wallet, automatic claiming will be disabled.
Checking for Accrued Rewards#
To check if you have accrued rewards, go to the Flare Portal:
- Click Connect to Wallet and log into your wallet.
- Select your Main Account or Delegation Account, if you have enabled a PDA.
- At the bottom of the screen, see the Claim x FLR button, where x is the number of
$FLRrewards you can claim.
Note
If the configured executor is doing its job correctly, you should never see any pending rewards.